Dumpling Wrappers
Yield: 32 x 3″ round dumpling wrappers
I have made halved the recipe and the quality turned out the same as the full recipe. So, if for whatever reason you do not have access to a freezer or cannot consume all 32 dumplings at once, definitely make half as these do not refrigerate well.
INGREDIENTS
- 48g of glutinous rice flour (aka sweet rice flour, NOT rice flour)
- 24g of white rice flour
- 8g of tapioca starch
- 4g of cornstarch
- ½ tsp of fine sea salt
- 1 tbsp of neutral cooking oil (avocado or canola)
- 100g of room-temperature water
INSTRUCTIONS
Pre-Steaming
- Find a heat-safe, wide-bottom dish that will fit in a steamer. Grease the inside of the dish with some cooking oil. This will help us remove the dough from the dish later.
- Prepare the steamer and bring the water to a boil.
- In a mixing bowl, whisk together all the ingredients. Make sure to whisk everything together very well to create a thick, runny slurry.
- When the water for the steamer is boiling, give the slurry a quick mix again. Pour the slurry into the greased dish, and place the dish immediately into the steamer. Cover the steamer and let it steam for 12 minutes on low-heat, or until the slurry has turned into a silicone-textured dough thoroughly.
- Remove the dish from the steamer and let cool for 15 minutes.
- Meanwhile, prepare your favourite dumpling filling.
Rolling & Making the Wrappers
- On a clean, flat surface, generously dust the surface with white rice flour.
- Once the dough has cooled, peel it off of the dish and start kneading it into a ball with floured hands. Just keep adding more rice flour until the dough becomes less sticky. Use a bench scraper to loosen the dough from the surface if it gets stuck.
- Start rolling out a small portion of it on a well floured surface. Rotate and flip the dough around as you roll it out. Keep flouring the surface when you feel like the dough is sticking to the surface and rolling pin. You should be able to roll them to a very thin sheet that some light can pass through. You can tell it’s thin enough when you can see the your fingers thought them as you hold it, like when you make pasta.
- With a 3″ (or larger) round cookie cutter (or the rims of a cup), cut out as many wrappers as you can.
- Repeat step 3 & 4 until you can used up all the dough.
- You are ready to wrap them with your prepared filling! Place a generous 1 teaspoon of filling in the center of the wrapper. Gently stretch and fold one edge of the wrapper to the other, and give it good pinch to close up the dumpling. This wrapper is so pliable, you can crimp the edges with any design you wish! Repeat until you use up all the wrappers.
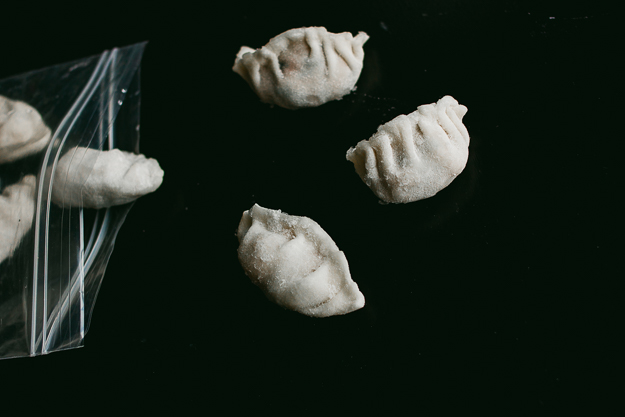
- Skip this step if you are cooking them immediately. If you are eating these later, freeze them in a tray for about 10-15 minutes before transferring them into a freezer-safe container. This will help keep the dumplings from sticking to each other.
Cooking the Freshly Made Dumplings
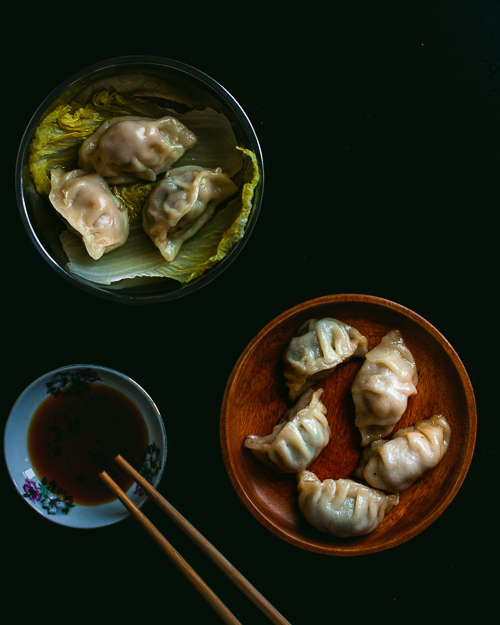
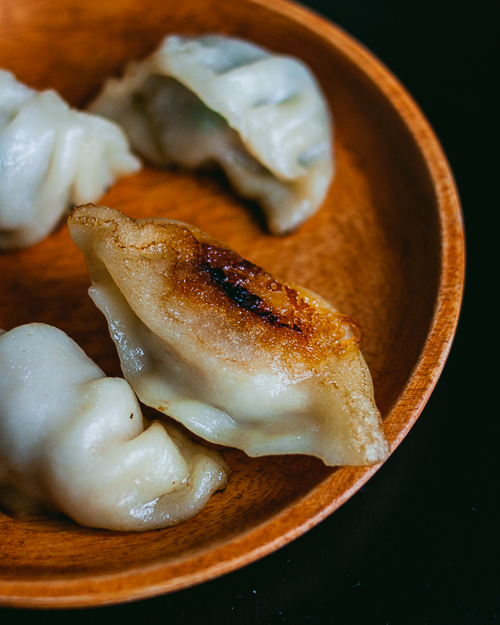
- Pan-fry method: Heat up some cooking oil in a pan over medium heat. Place the fresh dumplings in a single layer, pleats facing up if possible, and let it cook until the bottom begins to brown. Add ⅓ cup of water, cover and let cook for 3-4 minutes. Then, uncover and let it continue cooking. When all the water has evaporated, and the bottom of the dumplings is crispy and has a nice golden brown colour, the dumplings are ready! Repeat until all the dumplings are cooked.
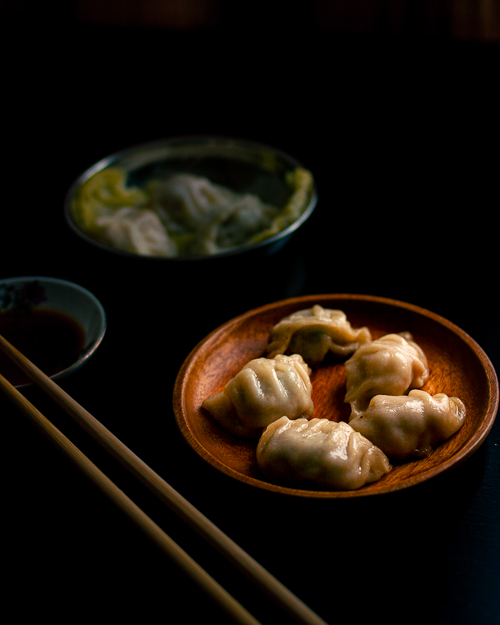
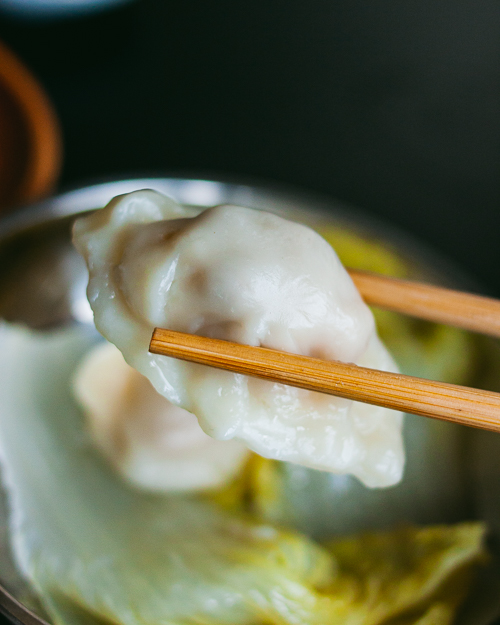
- Steam method: Prepare the steamer and bring the water to a boil. Meanwhile, in a heat-proof dish, line it with parchment paper or some vegetables like cabbage leaves or thin carrot slices. Place the fresh dumplings in a single layer, making sure they are not touching each other. Once the water is boiling, place the dish into the steamer, cover and let steam for 10 minutes, or until the filling is cooked completely. Remove from steamer.
Cooking the Frozen Dumplings
- Pan-fry method: Add some cooking oil in a pan. Place the frozen dumplings in a single layer, pleats facing up if possible, and ⅓ cup of water. Cover the pan and bring it to a boil over medium heat. Let it continue to cook covered until most of the water has evaporated. Uncover and it continue cooking until the bottom of the dumplings are crispy and golden brown. Remove from heat.
- Steam method: Prepare the steamer and bring the water to a boil. Meanwhile, in a heat-proof dish, line it with parchment paper or some vegetables like cabbage leaves or thin carrot slices. Place the frozen dumplings in a single layer, making sure they are not touching each other. Once the water is boiling, place the dish into the steamer, cover and let steam for 15 – 20 minutes, or until the filling is cooked completely. Remove from steamer.
Serve immediately… with some Chinese sweet rice vinegar, tamari or chili oil with fresh herbs.
